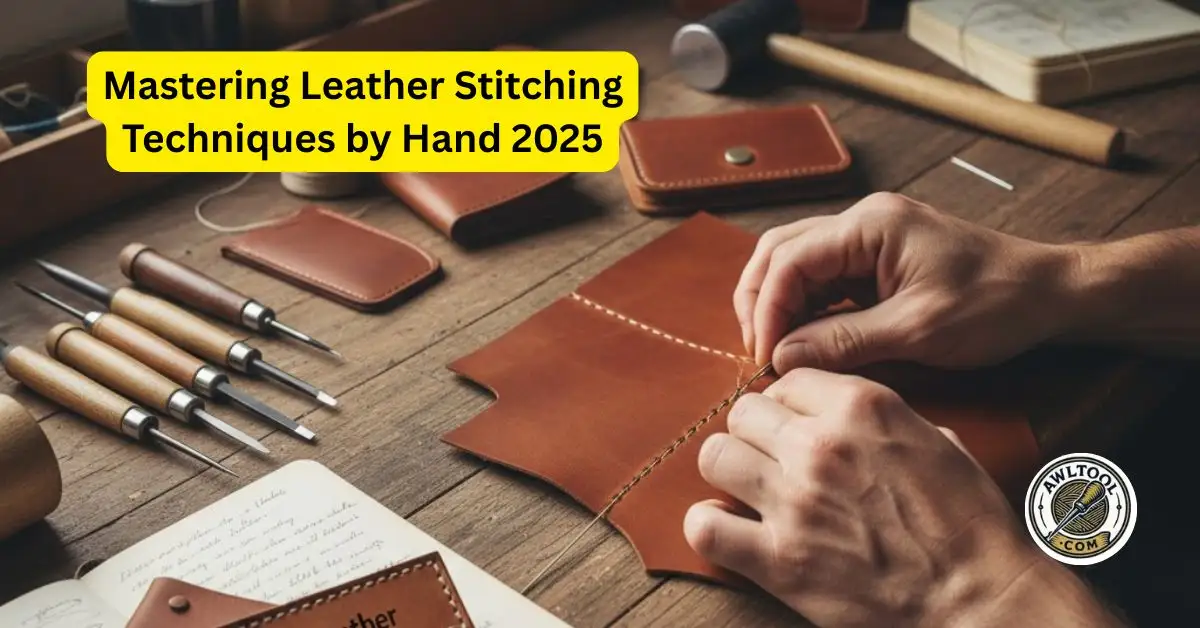
Leather stitching techniques by hand offer strong, custom seams for USA crafters. Begin with saddle stitch for durability. It interlocks threads with two needles. Other types include running stitch for quick fixes and cross stitch for decoration.
Prep your leather first. Mark lines. Punch holes. Use waxed thread. Stitch evenly. Finish with backstitches.
Quick saddle stitch steps for sewing leather by hand for beginners:
- Prep: Mark and punch holes 1/8 inch from edge.
- Stitch: Alternate two needles, pull tight.
- Finish: Backstitch 2-3 times, trim and seal.
For tools, check my 18 Types of Awls and Their Uses on AwlTool.com.
Table of Contents
Why Choose Leather Stitching Techniques by Hand?
Hand stitching leather beats machines for control. It creates seams that hold up to daily use. In the USA, many fix items like belts to save money in 2025. This method suits thick hides from Midwest suppliers.
It feels rewarding. You avoid weak machine skips. Drawbacks include time. But results last longer. It’s great for custom gifts. Solve issues like uneven stitches with practice. Build skills for heirlooms.
Essential Tools and Materials for Sewing Leather by Hand for Beginners
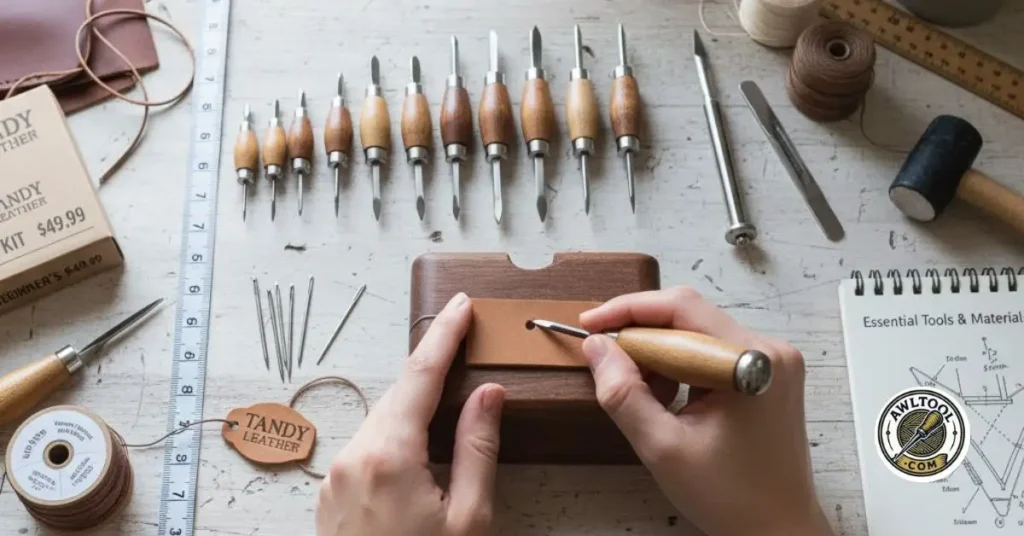
Start with simple tools from Tandy Leather stores. An awl punches holes cleanly. Use stitching chisels for even spacing. Pricking irons mark without full punches. Waxed polyester thread glides smooth.
Blunt needles prevent pricks. Edge groovers make flush lines. A mallet taps without damage. Stitching pony holds steady.
Buy kits under $50. Avoid Amazon delays. For curved work, see my 5 Best Curved Awl Tools. Match thread to leather thickness. 0.8mm works for medium hides.
Preparation: How to Set Up for Hand Stitching Leather
Prep stops mistakes. USA veg-tan leather needs care. Mark stitch lines with a groover. Set 1/8 inch from edge. Use a ruler for straight grooves. Punch holes on a mat. Tap chisel with mallet. Space 5-7 per inch. For thick layers, punch separate then glue.
Choose thread. Wax it for ease. Cut 3-4 times seam length. Glue edges with contact cement. Align before punching. Keep awl straight. Avoid tears. Sharpen tools often. Link to How to Sharpen an Awl.
- Prepare your leather and tools Mark your stitch line: Use a grooving tool to create a faint line to follow for your stitches.
- Punch the holes: Place the leather on a protective surface and use a pricking iron or diamond chisel to create consistent holes all the way through the leather.
- Prepare the thread: Cut a length of thread (about twice the arm’s length) and coat it with beeswax to protect it and make it easier to work with.
- Attach the needles: Thread one needle onto each end of the double-length thread. A common method is to pass the thread through the needle’s eye, then pass the needle back through the thread to create an “S” shape, and pull the thread down over the eye to lock it.
Core Leather Stitching Techniques by Hand
Learn types of leather stitching. Each suits different projects. Start basic. Build to decorative.
Saddle Stitch: Strongest for Everyday USA Projects
Saddle stitch tops hand methods. It locks threads. Use two needles. Great for wallets.
- Master the saddle stitch Start the first stitch: Pass the right-hand needle through the first hole from the back to the front.
- Continue the stitch: Pass the left-hand needle through the same hole from the front to the back, ensuring it does not pierce the existing thread.
- Tighten the stitch: Pull both ends of the thread firmly to create a tight, even stitch.
- Repeat: Continue this process for each subsequent hole, ensuring the threads remain on top and are not crossed or pierced.
- Maintain tension: Keep consistent pressure on the threads as you pull to ensure the stitches are uniform and tight without being overly tight.
For thick leather, pre-punch separate. Avoid wavy backs.
Running Stitch: Simple for Beginners
Running stitch is easy. Use one needle. Go in and out. Less strong. Good for thin patches. Steps: Knot end. Weave through holes. Reverse for fill. Use for quick repairs.
Cross Stitch (Corset): Decorative Leather Stitching
Cross stitch adds style. Forms X patterns. Two needles cross fronts. Straight backs. Steps: Align edges. Cross threads. Pull tight. For pouches or wraps. See my Mastering Leather Stitching Techniques for more ideas.
Baseball Stitch: Curved and Flexible
Baseball stitch mimics ball seams. V-shape. Two needles under layers. Steps: Pass under. Emerge next hole. Tighten. For curved bags. Flexible for USA outdoor gear.
Box Stitch: For Corners and High-Stress Areas
Box stitch extends saddle. Seamless at turns. Use single-tine chisel. Steps: Adjust spacing. Stitch tight. For holsters under stress.
Whip Stitch and Double-Loop Lacing: Edge Techniques
Whip stitch wraps edges. Overcast style. For raw protection. Double-loop laces borders. Steps: Loop over. Repeat. See Edge Leather Stitching Techniques and Lacing Edge Leather Stitching Techniques.
For more: 10 Leather Stitching Techniques
Comparison Table: Different Leather Stitching Techniques
| Technique | Difficulty | Tools Needed | Strength | Best For (USA Projects) |
|---|---|---|---|---|
| Saddle | Medium | Two needles, awl | High | Wallets—daily use |
| Running | Easy | Single needle | Medium | Patches—fast fixes |
| Cross | Medium | Two needles | Medium | Pouches—gifts |
| Baseball | Hard | Two needles | High | Bags—curves |
| Box | Medium | Chisel, awl | High | Holsters—strength |
| Whip/Lacing | Easy | Needle/lace | Medium | Edges—bags |
How to Hand Stitch Leather with 2 Needles (Saddle Focus)
How to hand stitch leather with 2 needles? Use saddle method. Thread both ends. Start from back. Alternate passes. Don’t pierce thread. Pull even. For thick hides, sharpen awl. Steps match above. Practice solves tension issues.
Sewing Leather by Hand for Beginners: Tips and Common Mistakes
Sewing leather by hand for beginners starts simple. Use scraps. Focus tension. Common mistakes: Dull awl causes slips. Fix with sharpening.
Uneven holes? Keep perpendicular. Link to 8 Common Awl Mistakes and How to Avoid Them. Safety: Wear gloves.
Decorative Leather Stitching: Adding Flair Without Weakening
Decorative leather stitching boosts looks. Cross for texture. Zig-zag for journals. Color-contrast for pop. Use on low-stress spots. Avoid weakening seams. More in my Decorative Leather Stitching Techniques.
How to Sew Leather Without a Machine vs. On a Machine
How to sew leather without a machine? Use hand techniques above. Portable. Strong for thick. Vs. machine: Use walking-foot. Heavy thread. Faster but skips on thick. Test tension. Hand for custom. Machine for uniform.
- Finish your seam Backstitch: To secure the end of your seam, perform 2 or 3 backstitches by going back through the last few holes you just stitched.
- Trim and finish: Trim the excess thread close to the leather. For synthetic threads, you can use a lighter to carefully melt and seal the ends, which is not recommended for natural fibers.
Troubleshooting: Fixing Uneven Stitches and Thick Leather Issues
Uneven spacing? Re-mark templates. Tears? Sharper tools. Fraying? Wax more. Tension problems? Loosen grip. Re-punch carefully. For holes, see 5 Best Hole Punching Tools. Thick leather tip: Pre-punch separate layers.
Conclusion: Start Your Leather Stitching Techniques by Hand Journey
Leather stitching techniques by hand empower USA crafters. Make lasting items. Practice often. Use quality tools. Explore more on AwlTool.com, like 5 Best Plastic Awl Tools Review.
Join the Community on Instagram and Facebook: Share your favorite marking or drilling tools and tag us to get featured!

About the Author Nicholas N. Goforth: This review is based on 20+ years of hands-on testing, analysis of 100+ customer reviews, and consultation with professional bookbinders and conservators. All products were personally tested or reviewed by verified purchasers.