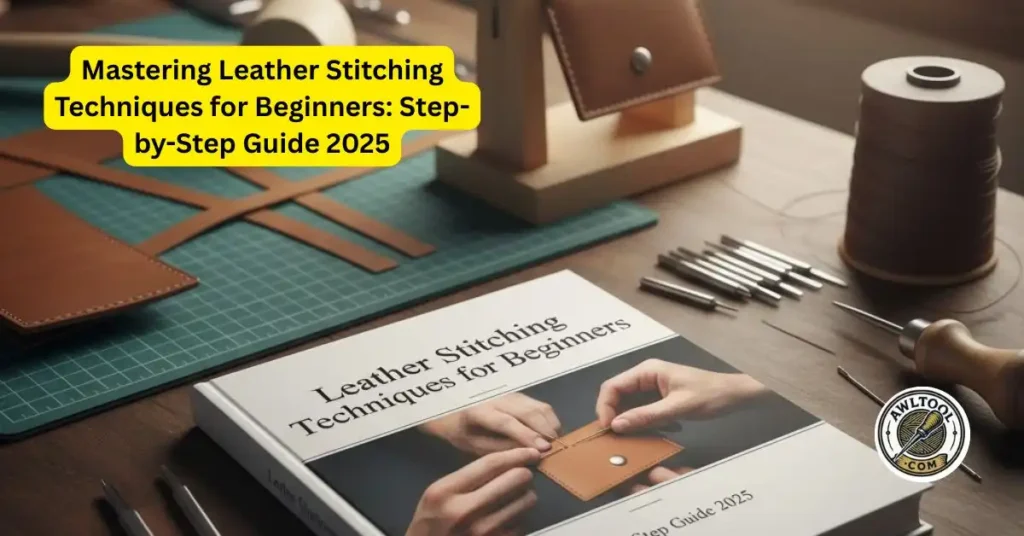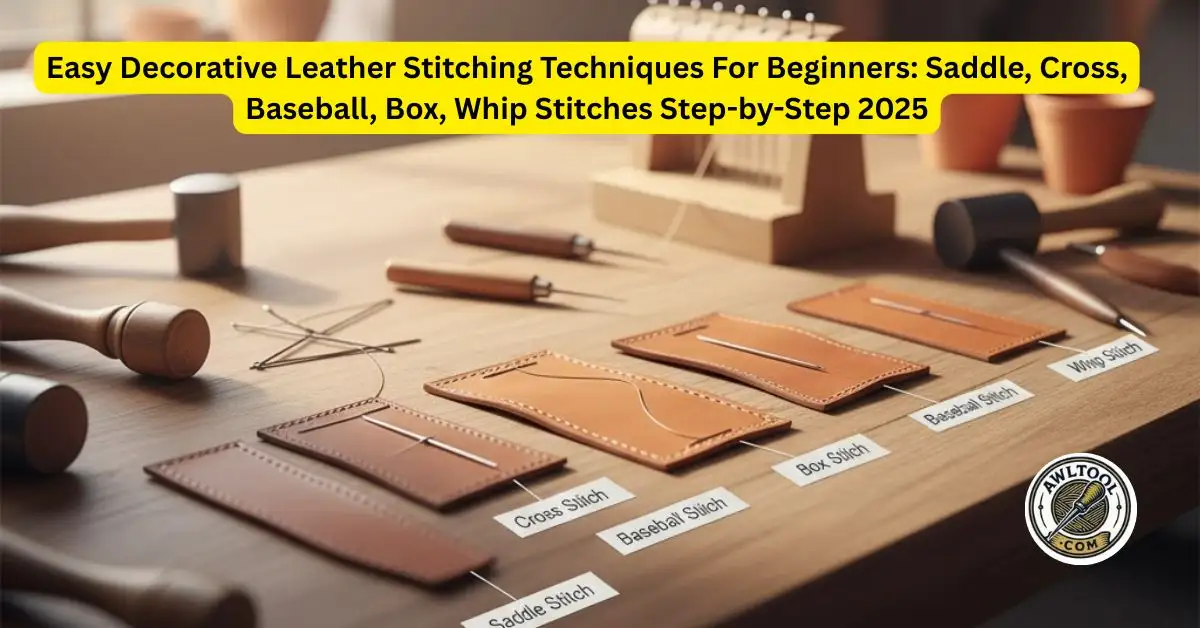
USA beginner crafters can master decorative leather stitching techniques like saddle for strong seams, cross for X-patterns, baseball for V-shapes, box for corners, and whip for edges on wallets, bags, belts, cases.
Use hand methods with tools such as chisels, waxed thread, needles. Focus on even tension for durability, color contrast for aesthetics. From my Albuquerque shop since 2005, these low-cost steps create beautiful projects.
Table of Contents
Why Decorative Leather Stitching Techniques Matter for Beginners
Good stitching does two things: it keeps your project together forever, and it makes it look handmade in the best way. The stitches in this guide work perfectly on veg-tan leather (the most common kind for crafters) and give you that professional finish right from your first project.
Essential Tools You Need (Under $60 Total)
Before we start stitching, grab these basics – I still use the exact same ones after 20 years:
Check: Awl For Sale
- Stitching chisels (1.5 mm – 4 mm spacing, 2- and 6-prong are perfect)
- Waxed polyester or linen thread (0.8 mm or 1 mm)
- Two blunt harness needles (John James size 002 or 004)
- Stitching pony or simple C-clamp
- Edge groover or overstitch wheel
- Sharp awl (diamond or round – check my guide on the best leather stitching awl)
- Contact cement or double-sided tape for holding pieces
- Lighter and thread zapper for finishing ends
Decorative Leather Stitching Techniques Step by Step
1. The Saddle Stitch – The Gold Standard (Strong + Clean)
This is the #1 stitch I teach every beginner. It’s stronger than any machine stitch because the thread locks itself.
Step-by-step:
- Mark and punch holes with your stitching chisel.
- Cut thread 3–4 times the length of your seam.
- Thread a needle on each end.
- Start from the back: go through hole #1, pull until equal length on both sides.
- Always go front needle → back hole, back needle → same hole.
- Pull both needles tight every stitch – you’ll hear a satisfying “pop.”
- For a slanted look (my favorite), always cross the same direction. For straight, alternate.
Pro tip from my bench: Keep tension even. Too tight = puckered leather. Too loose = weak seam.
2. Cross Stitch (also called Corset Stitch) – The Prettiest “X” Pattern
Perfect for pouch flaps, book covers, or anywhere you want big bold X’s.
Step-by-step:
- Punch two rows of holes 4–6 mm apart (same number in each row).
- Start at one end, go up through left row hole #1, down through right row hole #2.
- Come back up left row hole #2, down right row hole #3 – keep making X’s.
- Finish by going back the opposite way to lock everything.
I use contrasting thread (natural on black leather = gorgeous).
3. Baseball Stitch – That Classic “V” Look
Exactly like a real baseball. Great for curved edges and thick leather.
Step-by-step:
- Punch holes about 5–6 mm apart along both edges.
- Start in the middle of the seam.
- Bring needle up hole #1 left side, down hole #1 right side.
- Skip one hole, come up hole #3 left, down hole #2 right – keep alternating to make V’s.
- Work both directions from the center for perfect symmetry.
Looks killer on knife sheaths and holsters.
4. Box Stitch – Perfect Corners and Right Angles
Just a saddle stitch with angled holes. Use this when two pieces meet at 90° (think bag corners).
Step-by-step:
- Punch holes at 45° angles around the corner.
- Stitch exactly like a normal saddle stitch.
- The angled holes make the thread sit straight – magic!
5. Whip Stitch – Fast, Rustic Edge Finish
Super quick for finishing raw edges on belts or straps.
Step-by-step:
- Punch holes 4–5 mm from edge, 6–8 mm apart.
- Start at one end, bring thread over the edge and back through the same hole.
- Move to next hole, wrap over edge again.
- Keep wrapping like candy cane stripes.
Use thick lace instead of thread for that Western look.
Types of Leather Stitching Patterns You Can Mix
- Double-row saddle stitch (two parallel lines – classy on wallets)
- Contrast color thread (white thread on brown leather pops!)
- Slanted saddle stitch + straight saddle stitch combo
- Cross stitch accents only on the flap of a bag
Common Beginner Mistakes I See (and How to Avoid Them)
- Uneven tension – practice on scrap first.
- Holes too big or too far apart – stick with 3–4 mm spacing for 4–6 oz leather.
- Forgetting to groove the edge – stitches sit proud and wear out fast.
- Using sharp needles – blunt needles only! Sharp ones cut the thread.
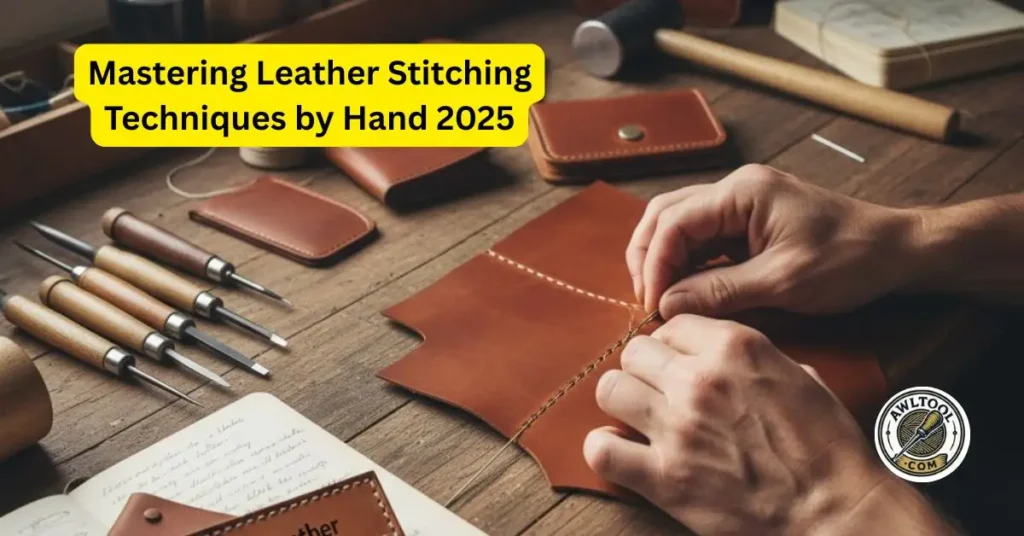
Decorative Leather Stitching Techniques by Hand – Final Tips from 20 Years
- Always groove your edges first (makes stitches sit flush).
- Burnish the edges after stitching – slick look, lasts longer.
- Wax your thread extra if you’re in dry New Mexico like me – stops fraying.
- Take photos of your tension samples – you’ll improve fast.
Want even more hand-stitching goodness? Check these out:
- Leather Stitching Techniques by Hand
- Edge Leather Stitching Techniques – Make Your Edges Look Pro
- Lacing Edge Leather Stitching Techniques – When You Want That Rugged Look
- Leather Stitching Techniques for Beginners – My Full Guide
- 10 Leather Stitching Techniques
FAQ: Decorative Leather Stitching Techniques for Beginners
What is the easiest stitching technique for a complete beginner?
The running stitch is the most basic to pick up, but the saddle stitch, while a little more involved, is fundamental for strong, quality leatherwork and widely considered a core skill for any beginner to master early on.
What are the essential tools I need to start hand stitching leather?
You will need a pricking iron or stitching chisel (to make evenly spaced holes), waxed thread, a couple of blunt leather needles, and ideally a stitching pony or clamp to hold the leather steady while you work.
Do I really need to pre-punch all the holes before I start sewing?
Yes, it is crucial to pre-punch your holes. This ensures your stitches are straight, evenly spaced, and prevents you from damaging the leather or snapping your needles when trying to push them through thick material.
Which type of stitch is the most durable for projects like wallets or belts?
The saddle stitch is highly recommended for its exceptional durability. The way the threads lock means that even if one stitch breaks, the entire seam will not unravel.
What is the right thread size to use for my first project?
A common and versatile choice for beginners working with medium-thickness leather (around 5-7 oz) is 0.8mm waxed polyester thread, paired with a size 004 blunt needle.
Conclusion: Start Your Decorative Leather Stitching Journey Today
There you go – five decorative leather stitching techniques you can start using tonight. Grab some scrap leather, your chisels, and thread, and make something beautiful. Drop a comment below and show me your first project – I answer every single one!
P.S. If you need the perfect diamond stitching chisels or waxed thread, swing by the AwlTool shop – everything I use daily in my own workshop.
Join the Community on Instagram and Facebook: Share your favorite marking or drilling tools and tag us to get featured!
Best Awl tools Short lists by job categories:

Hi, I’m Nicholas N. Goforth, a New Mexico crafter with 20 years of experience in leatherworking, woodworking, and bookbinding.
Inspired by a Santa Fe market, I turned my passion into AwlTool.com, launched in 2025, to share tutorials and handcrafted goods.