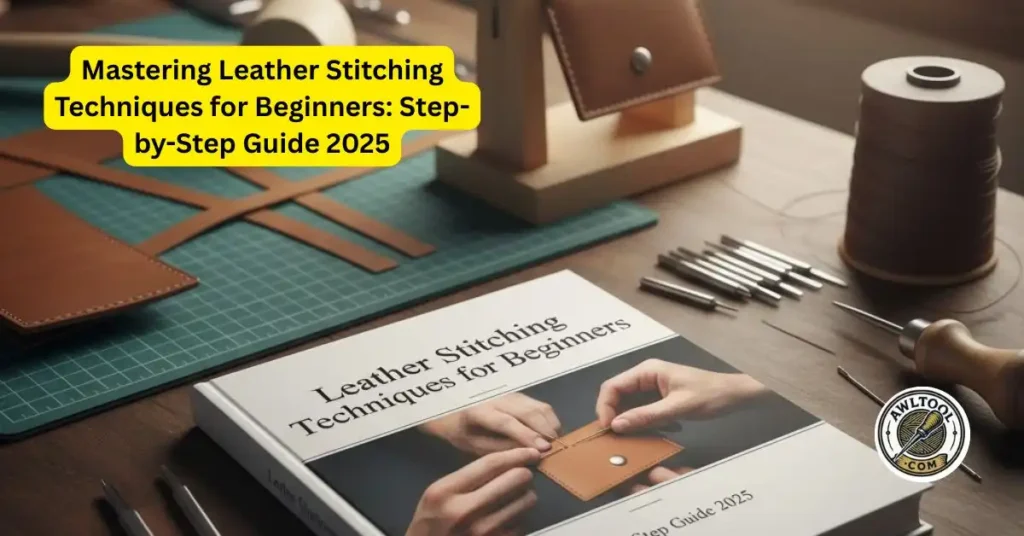
Learning how to stitch leather is one of the most rewarding parts of leathercraft. Whether you want to make wallets, bags, belts, holsters, or small accessories, clean stitching helps your projects look professional and last for years.
Many beginners in the U.S. feel intimidated by leather sewing, but with the right tools and a few simple techniques, anyone can achieve strong, neat, and beautiful stitches.
This complete beginner-friendly guide covers the best leather stitching tips and tricks, including machine sewing, hand-stitching basics, tool recommendations, and real advice used by American leatherworkers every day.
If you’re new to leathercraft, this article will help you build confidence and improve your stitching fast.
Table of Contents
10 Leather Stitching Tips and Tricks
Machine Stitching Tips for Beginners
Machine sewing leather can be simple if you set up your machine correctly. These tips apply whether you use a home machine or an industrial walking-foot machine.
1. Use the Right Leather-Sewing Tools
The tools you choose make a huge difference in how smoothly the leather runs through your machine.
Leather Needles
Leather needles have a sharp “chisel” tip that slices through leather cleanly. This reduces skipped stitches and gives you a straight, even hole.
Heavy-Duty Thread
Use:
- Bonded nylon
- Polyester
- Tex 70 or Tex 90 (U.S. standard sizing)
These threads are strong enough for everyday use and hold up well under stress.
Presser Feet That Glide
Beginners in the U.S. often switch to:
- Teflon foot
- Roller foot
- Walking foot (best for thick leather)
These feet prevent drag and help feed the leather smoothly.
2. Adjust Your Machine Settings
Leather needs different settings than fabric.
Stitch Length:
Use 3.0–4.0 mm for most leather. Longer stitches look cleaner and prevent perforation.
Presser Foot Pressure:
Slightly increase pressure to avoid slipping.
Speed:
Sew slowly—this gives you more control, especially around corners.
These simple adjustments can instantly improve stitch quality.
3. Don’t Use Pins — Use Tape or Adhesive Instead
Because leather keeps every hole, never use traditional sewing pins. Instead, use:
- Glad Press ’n Seal
- Painter’s tape
- Double-sided leather tape
Tape holds layers securely without leaving marks or damaging the grain. Always test tape on scrap leather first.
4. Keep Your Sewing Machine Clean
Leather releases fine dust that can cause tension problems.
Do this regularly:
- Brush lint from the bobbin area
- Oil your machine following your manual
- Replace needles frequently
This keeps stitches consistent and prevents machine issues.
5. Mark Your Stitch Line
For perfect rows, mark your line before sewing.
Use:
- Chalk
- Silver/gold leather marking pens
- A wing divider
Mark only on the back side of the leather. This gives you a clear guide to follow and improves accuracy.
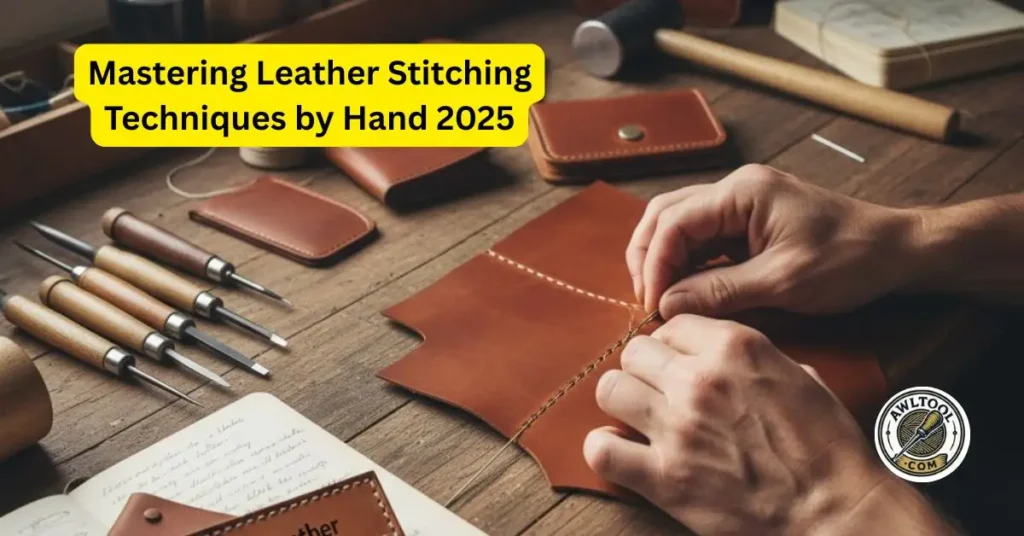
Hand Stitching Tips for Beginners
Hand stitching is the heart of traditional leathercraft. It’s strong, beautiful, and adds a handcrafted quality machines can’t match.
6. Learn the Saddle Stitch (The Most Important Stitch)
The saddle stitch is the strongest hand stitch for leather. It uses:
- Two needles
- One piece of thread
Each stitch interlocks, making it stronger than a machine stitch. This technique is used in nearly all premium U.S. handmade leather goods.
7. Punch Holes Before Sewing
Leather is too dense to push a needle through directly. You must create holes first.
Tools include:
- Pricking irons
- Diamond chisels
- Stitching awl
Pre-punched holes give you even spacing and a clean finished look.
8. Keep Chisels Straight When Punching
Holding chisels at an angle will create crooked holes.
Do this instead:
- Hold the tool straight up and down
- Use a poundo board or cutting mat
- Tap evenly with a mallet
This keeps your stitches straight and consistent.
9. Wax Your Thread
Wax helps thread slide smoothly through holes, prevents tangles, and strengthens the stitch.
You can use:
- Pre-waxed thread
- Beeswax block
This makes hand stitching much easier for beginners.
10. Lock Your Stitches for Strength
To prevent unraveling:
- Backstitch the last 2–3 holes
- Pull thread snug but not too tight
- Trim extra thread cleanly
This secures your stitch line and improves long-term durability.
Recommended Tools
- Diamond chisels: WUTA, Kevin Lee, Weaver
- Thread: Ritza Tiger Thread (very popular in the U.S.)
- Needles: John James size 002 or 004
- Marking tools: Wing divider + silver marking pen
- Presser feet: Teflon, roller, or walking foot attachments
These are trusted brands with consistent quality for beginners.
Frequently Asked Questions
1. What is the best stitch for beginners?
The saddle stitch is the best because it’s strong, simple, and used in most leathercraft projects.
2. Can I use a normal sewing machine to sew leather?
Yes, if you use leather needles, heavy-duty thread, a proper presser foot, and sew slowly.
3. What thread should I use for leather?
Bonded nylon or polyester in Tex 70 or Tex 90 is ideal.
4. Why can’t I use pins on leather?
Pins leave permanent holes, which can ruin your project.
5. What’s the best way to mark leather for stitching?
Use chalk or silver pens on the backside of the leather.
6. How do I prevent leather from slipping while sewing?
Use painter’s tape, double-sided tape, or Press ’n Seal.
7. How long should leather stitches be?
Most beginners use 3.0–4.0 mm for a clean and durable finish.
8. Do I need to wax my thread?
Yes—wax strengthens the stitch and prevents tangling.
9. Can I stitch leather without pre-punching holes?
Not recommended. Pre-punched holes give you cleaner results.
10. What is the easiest leather for beginners to practice on?
Vegetable-tanned leather around 4–6 oz thickness is easiest.
11. What tools do I need to start hand stitching?
Needles, thread, chisels, a mallet, and beeswax.
12. How do I avoid crooked stitches?
Mark the stitch line and keep your chisels straight.
13. Should beginners use cheap tools?
Start with mid-range tools—they last longer and give better results.
14. What presser foot works best for leather?
A Teflon, roller, or walking foot.
15. How do I finish thread ends?
Backstitch, trim, and lightly melt if using synthetic thread.
Conclusion: Start Stitching Leather with Confidence
Stitching leather doesn’t have to be difficult. With the right tools, clear guidance, and a little practice, beginners can create strong, clean, and professional-looking stitches.
Whether you prefer using a sewing machine or stitching by hand, these tips will help you improve quickly and avoid common mistakes.
By following this U.S.-focused beginner guide, and using quality tools, you’ll build skills that let you create beautiful leather projects that last for years. Keep practicing, keep learning, and enjoy the craft!
Want to deepen your skills? Explore these must-read guides:
- Leather Stitching Techniques by Hand
- Edge Leather Stitching Techniques – Make Your Edges Look Pro
- Lacing Edge Leather Stitching Techniques – When You Want That Rugged Look
- Leather Stitching Techniques for Beginners – My Full Guide
Join the Community on Instagram and Facebook: Share your favorite marking or drilling tools and tag us to get featured!
Best Awl tools Short lists by job categories:

Hi, I’m Nicholas N. Goforth, a New Mexico crafter with 20 years of experience in leatherworking, woodworking, and bookbinding.
Inspired by a Santa Fe market, I turned my passion into AwlTool.com, launched in 2025, to share tutorials and handcrafted goods.