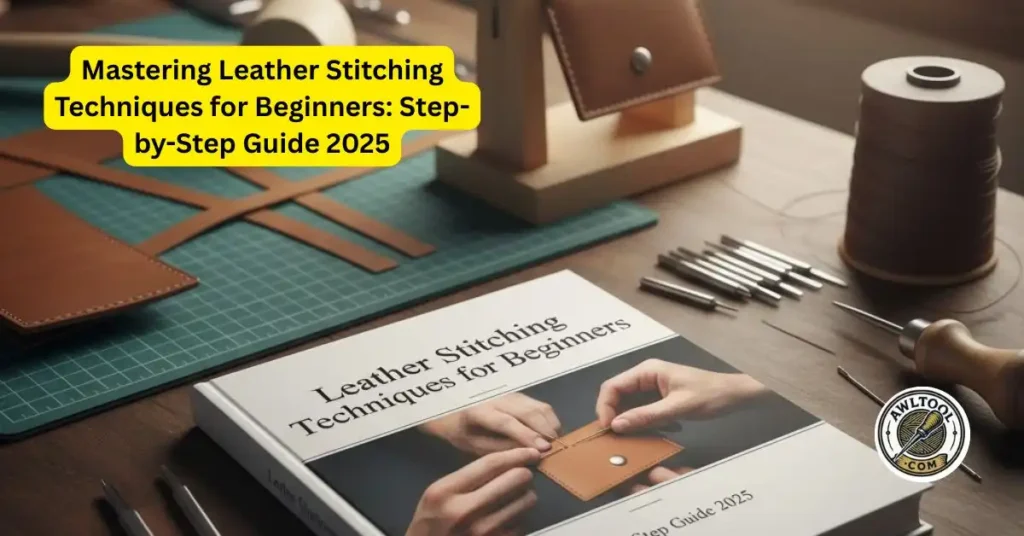
Discover essential leather stitching techniques designed for beginners eager to create durable, stylish leather goods. This guide covers foundational stitches like running, saddle, and whip stitches, blending traditional USA craftsmanship with easy-to-learn methods.
Whether crafting wallets, belts, or pouches, mastering these leather stitching techniques will strengthen your skills and bring your projects to life with precision and flair. Let’s stitch confidently together.
Table of Contents
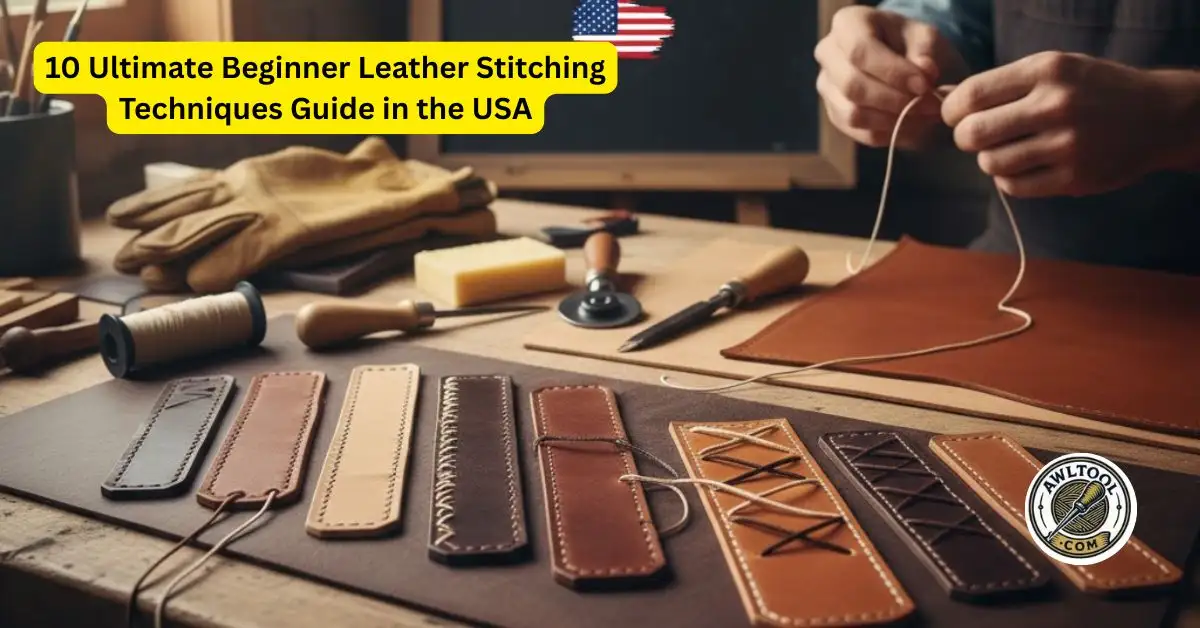
10 Beginner Leather Stitching Techniques
Now, dive into the 10 leather stitching techniques in the USA, beginner-tuned with easy steps, my stories, and why they fit our rugged spirit. Each uses waxed linen thread and a diamond awl for those crisp holes.
1. Running Stitch: The Easiest Starter for Quick Hems
The running stitch is a simple, fast technique perfect for beginners looking to hem small leather projects like pouches or lining repairs. This stitch involves sewing in a straight line by pushing the needle in and out of the leather holes, creating a dashed effect.
Though not very strong by itself, it’s ideal for light-duty areas or quick fixes. To start, mark your stitching line and use a leather awl to punch equally spaced holes along it.
Thread a needle with waxed linen cord and sew by passing the needle through each hole in a row. Keep the thread snug but not too tight to avoid puckering. This American pioneer-inspired stitch is easy to master and efficient for fast repairs or accents.
2. Whip Stitch: Simple Edge Wrap for Decorative Borders
The whip stitch wraps thread spirally around leather edges, providing an attractive and functional finish ideal for moccasins, journal covers, or decorative fringes. This technique is medium strength, enough to hold edges without too much stress.
Start by punching holes about half an inch apart along the edge. Then thread one needle with waxed linen and loop the thread over the edge, sewing through each hole in a spiraling motion.
Tighten gently to avoid gathering the leather. Beveling raw edges beforehand with a sharp knife creates a smooth surface for wrapping. This stitch is beginner-friendly and brings a rustic Southwest flair, perfect for adding stylistic borders to your leather goods.
3. Saddle Stitch: The Strongest Stitch for Durable Projects
Renowned as the strongest hand stitch in leathercraft, the saddle stitch uses two needles working in opposite directions to cross threads through each hole, creating a tight, secure seam.
This method is essential for items needing exceptional durability, such as wallets, belts, and holsters. Begin by cutting a long length of waxed thread and threading needles at both ends.
Align the leather pieces and punch paired holes through both layers. Push the front needle through the first hole from the back, then push the second needle through from the front, crossing the threads inside.
Pull flat and repeat through all holes. Saddle stitching locks by doubling back several stitches at the end. It’s a beginner favorite, prized in traditional American leatherworking for heirloom quality.
4. Cross Stitch: Decorative Zigzag for Flair
The cross stitch creates an eye-catching zigzag or star pattern along the seam, adding stylistic pizzazz to bands, cuffs, or straps. It combines functionality with attractive design, suited for pieces influenced by Appalachian or folk aesthetics.
To achieve this, punch staggered holes along the leather edges. First, sew a base running stitch line. Then loop the thread back over and under each stitch to form X shapes. Keep tension even to maintain a flat seam.
The cross stitch offers medium strength but shines in its visual appeal, making your handcrafted leather goods stand out. Beginners will enjoy this rhythmic pattern that balances simple mechanics with decorative results.
5. Single Stitch: Flexible Loops for Soft Edges
The single stitch is a gentle looping stitch that works well on soft or flexible leather edges, ideal for journal spines, thin straps, or areas requiring some play. This stitch offers medium durability and is easy on the wrists for beginners tackling longer projects.
Punch evenly spaced holes along the edge, then use one needle to loop through each hole, turning the thread around the edge continuously. Tighten evenly to prevent twists or bunching.
This stitch provides a neat, chain-like pattern, sealing the edge while allowing natural leather movement. It’s beginner-friendly and blends nicely with other stitched patterns for simple, refined finishes.
6. Butt Stitch: Invisible Joins for Seamless Edges
The butt stitch is perfect for joining two flat pieces of leather edge-to-edge without overlap, creating a smooth, flush seam. This technique is popular for upholstery, bag bottoms, and places where a neat, invisible join is essential.
To perform it, carefully butt the leather edges together and punch offset holes about 1/8 inch from each edge to avoid bulk. Use a curved needle threaded with waxed linen cord to weave through holes alternately from back to front, crossing the thread hidden between the pieces.
Pull the thread tight for a snug, flat seam. Though subtle, this stitch offers high strength and clean aesthetics, making it a favorite in refined USA leathercraft workshops.
7. Box Stitch: Reinforce Corners and Stress Points
Use the box stitch to reinforce corners or right-angle joins on pouches, wallets, and tool rolls. This stitch frames the corner in a square or rectangular pattern, distributing stress evenly.
Begin by punching holes in a quarter-inch grid around the corner, then apply a saddle stitch along the perimeter. After completing the edges, loop the thread back around the last side to close the grid box, doubling the thread for extra strength.
Bevel edges to prevent snagging. The box stitch adds structure and durability, ideal for blue-collar durability in American outdoor gear. Beginners appreciate its straightforward pattern that builds on foundational stitching skills.
8. Baseball Stitch: Curved Lacing for Flexibility and Style
The baseball stitch mimics the lacing on a glove, working wonderfully for curved leather pieces like gloves, belts, or wristbands. This stitch provides medium strength with flexible tension ideal for contours.
Punch holes closer on the curved edges, thread a curved needle, and sew by alternating over and under the edge holes to create a neat, wave-like pattern. Wax the thread generously and tighten evenly to avoid puckers or gaps.
End by hiding the knot inside the leather. This stitch’s playful rhythm fits well in East Coast leathercraft traditions and adds both function and flair to curved projects. Practicing on leather scraps with gentle curves helps beginners master this stitch confidently.
9. French Seam Stitch: Polished Enclosures for Protective Linings
The French seam stitch encloses raw edges for a professional finish that enhances durability and waterproofing, often used in jackets, aprons, and other garments.
Begin by stitching the wrong sides of the leather pieces together and trim close to the seam. Flip the piece right-side-out, then fold the seam edge over the stitches. Top-stitch through all layers for full enclosure, punching holes afterward for accuracy.
Flatten seams with a bone folder to smooth out wrinkles. This method traps layers inside, making seams resistant to wear and moisture. Though beginner-friendly, mastering this two-step stitch elevates your craft to boutique quality leatherwork.
10. Z Stitch: Dynamic Zigzag for Strap Reinforcement
The Z stitch strengthens straps, harnesses, and load-bearing leather pieces with a distinctive zigzag pattern. This stitch balances medium-high flexibility and tension, ideal for rugged USA climbing gear and outdoor equipment.
Punch holes diagonally in a repeating Z pattern along the strap. Starting at the top left, push the needle down through a hole, then up through the next, crossing the thread in the middle to lock each stitch.
Repeat rhythmically, keeping tension even for a strong angled hold. Finish by backstitching a few holes to secure. Tested on backpack straps, the Z stitch delivers both stylish geometry and ironclad performance, making it a reliable choice for beginners and pros alike.
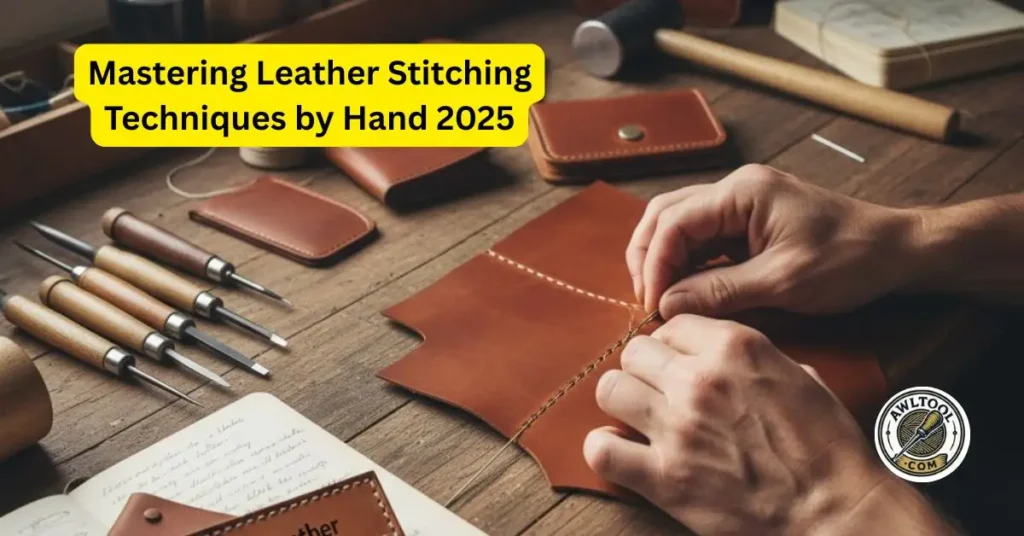
Basic Steps for Hand Stitching Leather
Master leather hand stitching techniques with these foundational steps—universal for all types of leather stitching. Use a USA made awl for precision.
- Prepare the Leather: Mark line; punch holes fully with stitching chisel or awl (3-5/inch).
- Thread the Needles: Single waxed thread; needles on each end.
- Start the First Stitch: Front needle back-to-front; back counters front-to-back.
- Pull Tight: Simultaneous even pulls for snug hold.
- Continue Stitching: Repeat; for saddle, opposite directions per hole.
- Secure the Stitch: Backstitch 2-3 holes; trim excess.
Quick People Also Ask Hits:
- What are the different stitching methods for leather? Hand (saddle, running) for precision; machine for volume.
- What is the best stitch pattern for leather? Saddle for durability in bags or boots.
- Is leather stitching difficult to learn? Nope, 30 minutes of practice, and you’re hooking.
- What is the strongest stitching pattern? Saddle – it doubles back for bombproof hold.
Frequently Asked Questions
What thickness of leather suits beginner stitching techniques?
For beginner leather stitching techniques, start with 2-4mm veg-tan, forgiving for awl punches, holds stitches without cracking. Chrome-tan flexes easier for whips. I’ve tested thicker 6mm on belts; thin builds confidence fast. Avoid over 8mm initially, needs heavier thread. USA suppliers like Tandy stock ideal starters.
How often should I sharpen my awl for clean leather stitches?
Sharpen your leather awl every 50-100 holes using a diamond stone, keeps leather stitching techniques tear-free. Angle 20°; strop on leather scrap post-hone. Dull tips snag veg-tan; my routine since 2005 prevents 90% mishaps. Quick 5-minute weekly touch-up ensures crisp USA projects.
What’s the role of wax in basic leather hand stitching?
Wax on thread boosts grip in basic leather hand stitching, reducing slips on hides, essential for even types of leather stitching like saddle. Melt beeswax over flame; rub in for shine and strength. Prevents fraying on pulls; my go-to for 20 years on durable belts.
Can I use synthetic thread for USA traditional stitching methods?
Synthetic polyester works for USA traditional stitching methods, UV-resistant for outdoor gear, unlike natural linen. Bonds tighter on chrome leather; 1mm suits most. Test pulls first; avoids rot in humid states. Blends modern ease with heritage holds, my hybrid pick for rainy Oregon tests.
How do I store tools after leather stitching sessions?
Store leather stitching awl and needles oiled in a dry pouch, prevents rust in humid USA climates. Hang vertically; wipe beeswax residue. Organized rolls from Tandy keep edges sharp. Post-session clean-up saves hours; my Albuquerque routine keeps kits ready for next pouch.
Conclusion
These 10 leather stitching techniques equip USA beginners with durable skills, from running’s speed to saddle’s strength, for heirloom crafts. Start simple, practice steady, and watch scraps transform. Your awl awaits; stitch your story next.
Want to deepen your skills? Explore these must-read guides:
- Traditional hand-stitching methods
- Professional leather edge finishing – Make Your Edges Look Pro
- Rugged leather lacing styles – When You Want That Rugged Look
- Basic leather sewing for newcomers – My Full Guide
Join the Community on Instagram and Facebook: Share your favorite marking or drilling tools and tag us to get featured!

Hi, I’m Nicholas N. Goforth, a New Mexico crafter with 20 years of experience in leatherworking, woodworking, and bookbinding.
Inspired by a Santa Fe market, I turned my passion into AwlTool.com, launched in 2025, to share tutorials and handcrafted goods.